 In the old days, you used to have to take a picture with a complicated contraption, take the photo to a darkroom, and wait for it to develop. Even in more modern times, you needed a fancy camera to take photos, and then you needed to take it to a photography store to be developed. With the advent of mobile phones, editing apps, and cell phone cameras, those days are gone. Apple frequently places billboards with striking images and the caption “Shot on iPhone,” showing how, with the right technique, professional-grade photography is achievable with just a smartphone. So, what’s the secret to taking great photos on your cell phone? Read on to find out!
Focus on One Subject
Let’s start with the basics: many great photos just focus on one subject. Rather than try to squeeze many subjects in the frame, try to focus on just the best one, and have around two-thirds of the photo be negative space. That way the subject will stand out from its background. Additionally, make sure the camera is focused on the subject. Just tap the image on your smartphone’s screen and the camera will focus on your subject.
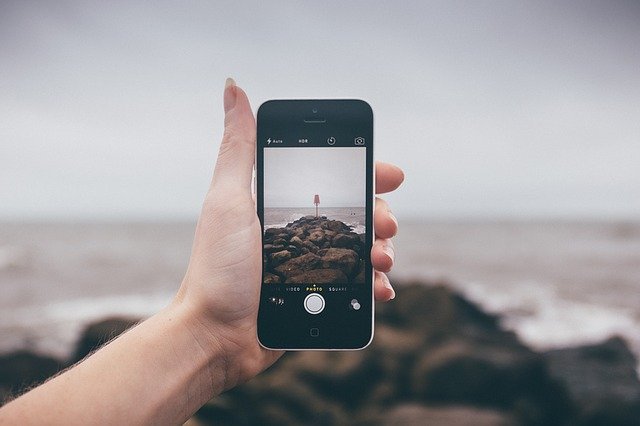
Use Negative Space
Piggybacking off of the last tip, negative space is a powerful photography element and can be used to great effect. Negative space is defined as the areas around and between the subjects of an image. Using a lot of negative space in your photo helps the subject stand out. Common instances of negative space include the sky, empty fields, the ocean, and blank walls.
Use Your Camera’s Gridlines
Most cell phones have the option to display gridlines on your screen, and for good reason. Gridlines take advantage of the “rule of thirds,” a composition principle that asserts that an image should be broken into thirds, both horizontally and vertically, and points of interest should be placed at the intersection of the lines. Placing people’s faces or the horizon on these lines usually has great results. Try it the next time you are taking a photo!
Use Leading Lines
A leading line is literally a line in a photo that draws the viewer’s eye towards a certain part of the image. Roads, railings, train tracks, or paths can be effectively used as leading lines and can create an interesting sense of depth. It also makes the photo look purposefully designed in an appealing way.
Use Repetitive Patterns
Our brains love repetition, and repeating patterns in photographs are very appealing to the eye. Cities and nature are full of repeating patterns: from bricks to tile floors to the scales on a snake. The next time you notice one, take out your phone and snap a quick photo!
Only Use Flash during the Day
Flash is meant to improve your photos, but all too often amateur photographers take photos at night with the flash on, and create a photo that looks unnatural. If you use your flash in an already well-lit place, it can serve to soften some of the shadows in the image and make it brighter. If you must take a photo at night, many phones have a “night mode,” that digitally brightens the photo.
We hope these photos will be useful to you as you’re out in the field with your phone. Best of luck!